kintone plugin series

Client ID and Client Secret acquisition method for Google
Boost! OAuth Mail and Boost! OAuth IMAP use a token-based authentication method, unlike ID and password authentication.
This page explains how to obtain the Client ID and Client Secret required to acquire those tokens.
Create a project
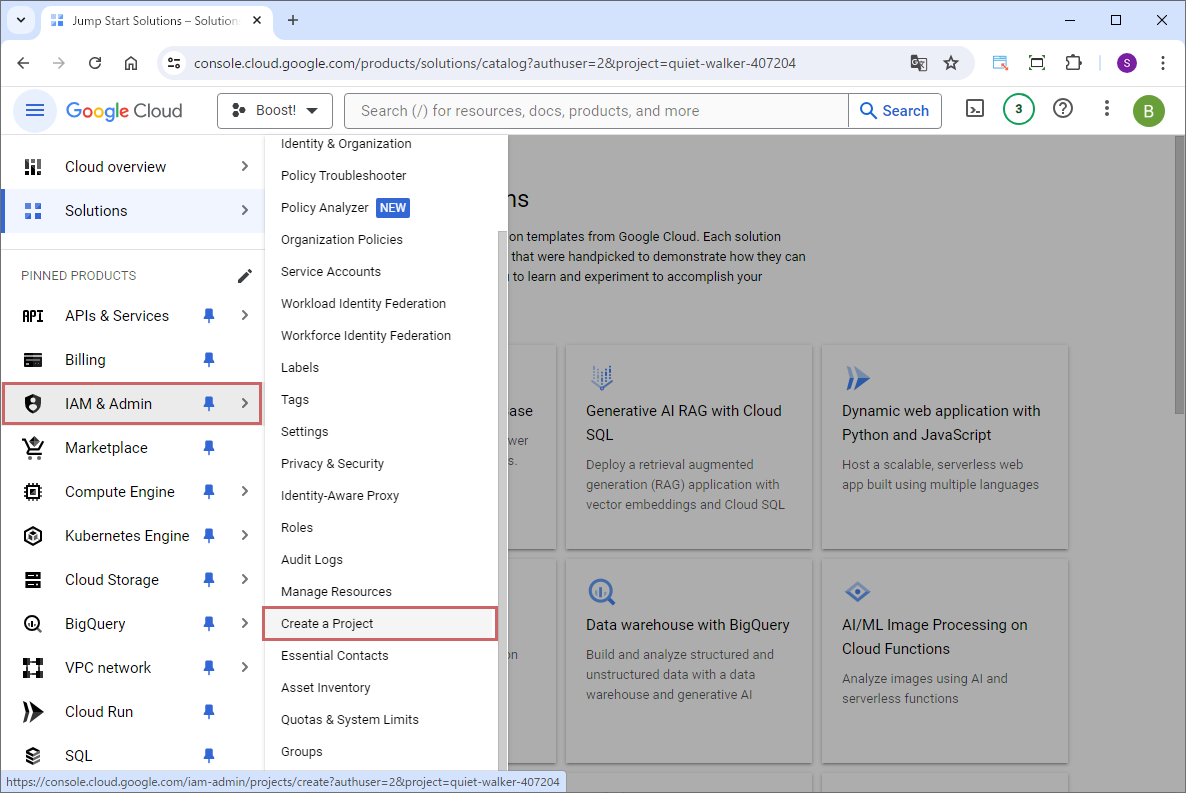
Access the Google Cloud Console and select "IAM & Admin" > "Create a project" from the navigation menu.
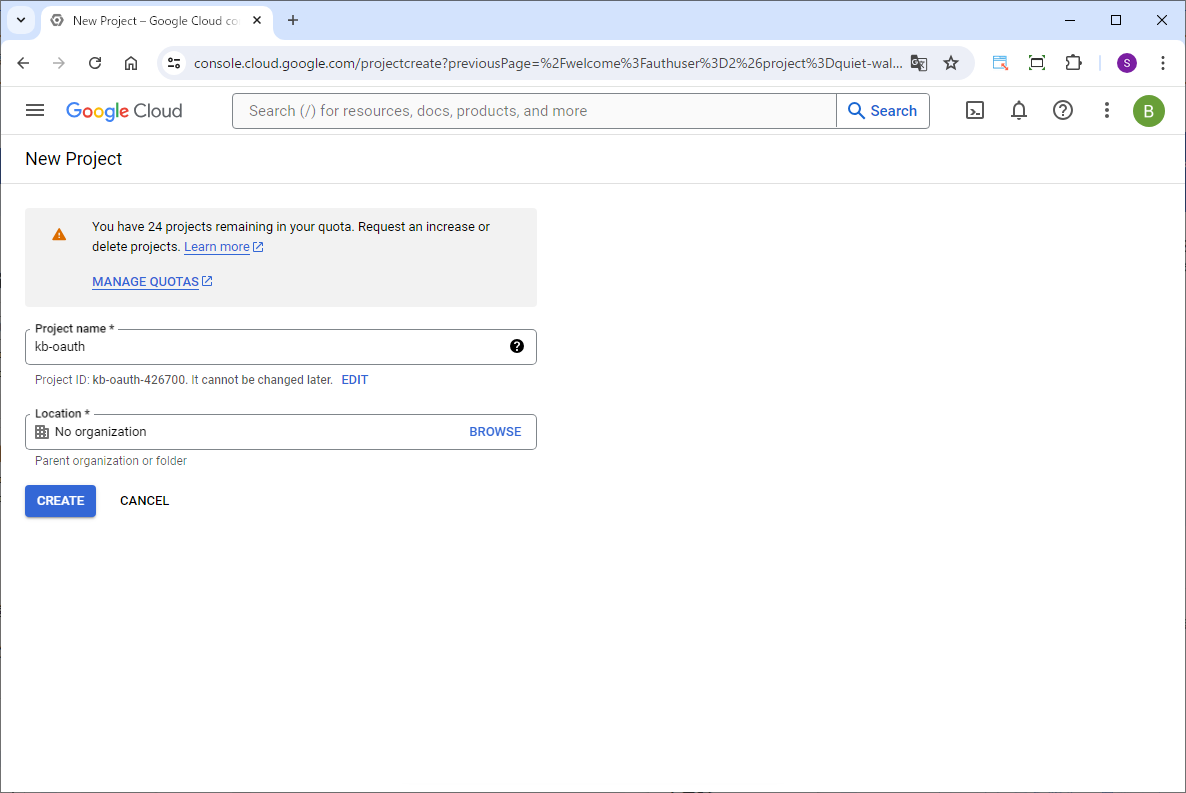
On the "New Project" screen, enter a project name of your choice and click the "CREATE" button.
Enable API
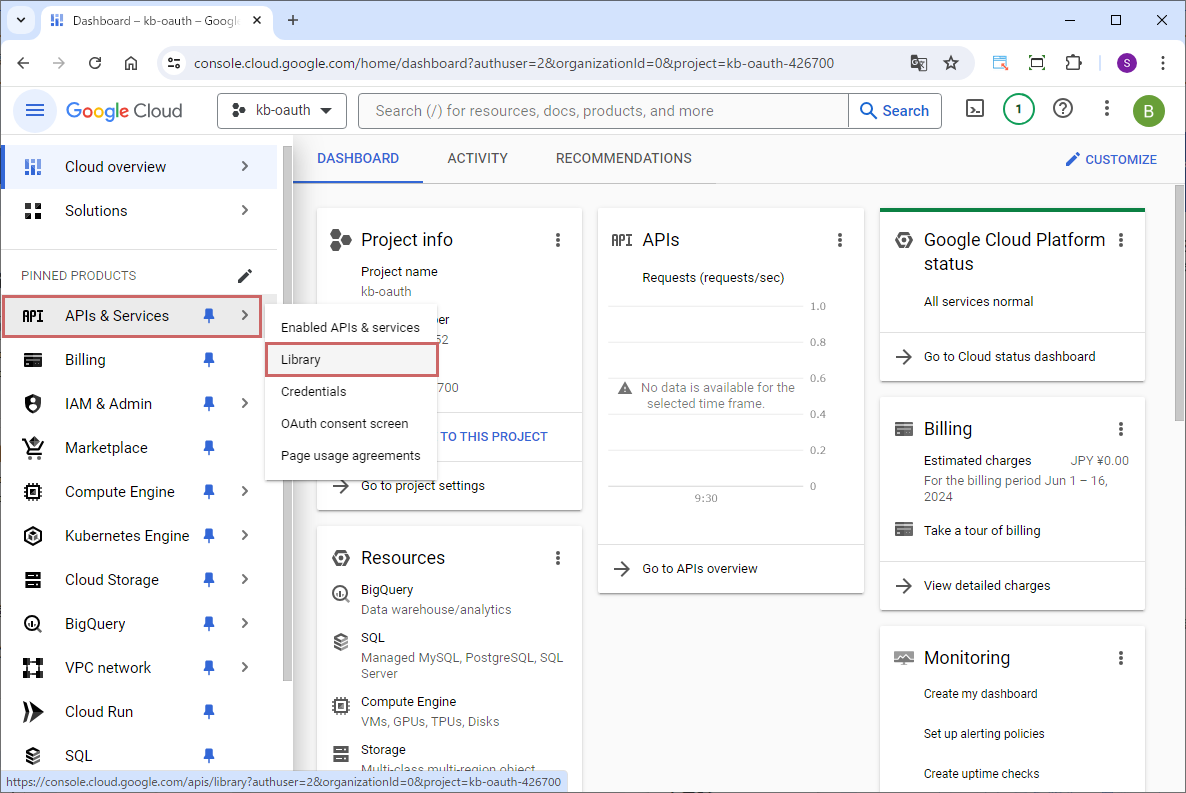
Select "API & Services" > "Library" from the navigation menu.
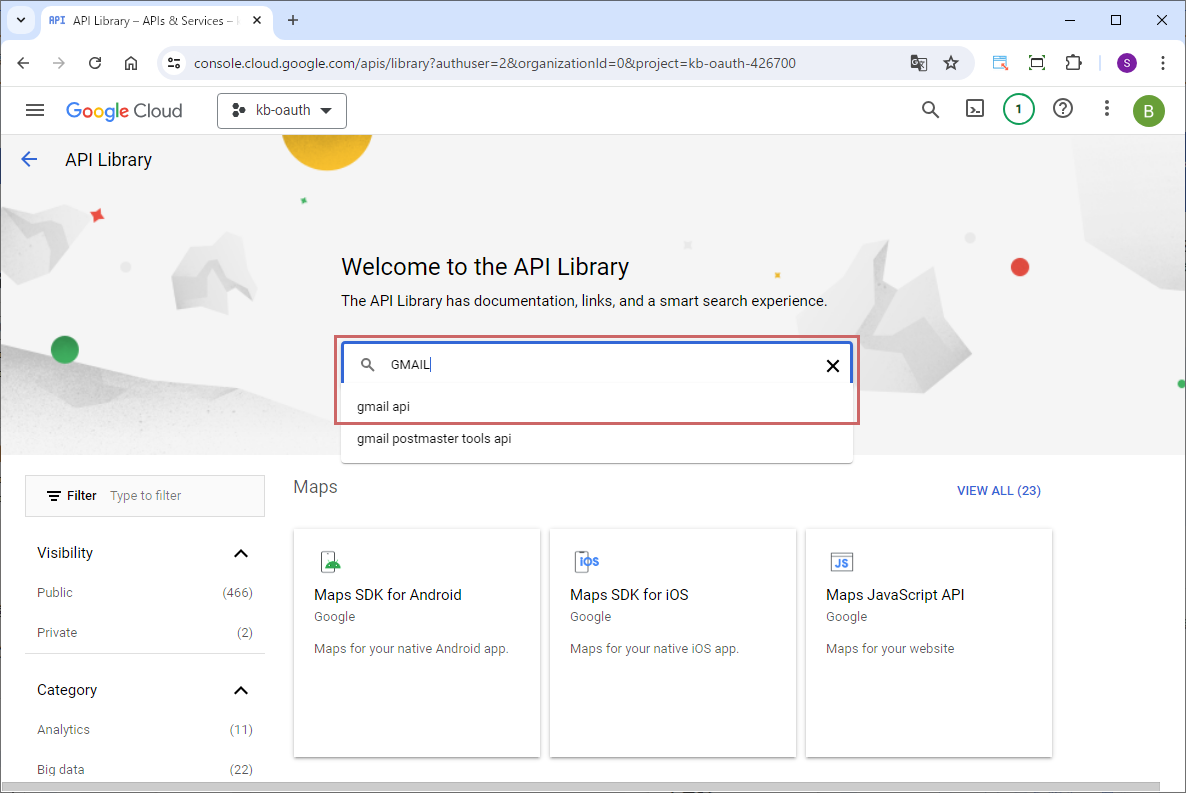
Enter "GMAIL" in the search box in the center of the screen, and select "Gmail API" from the displayed list.
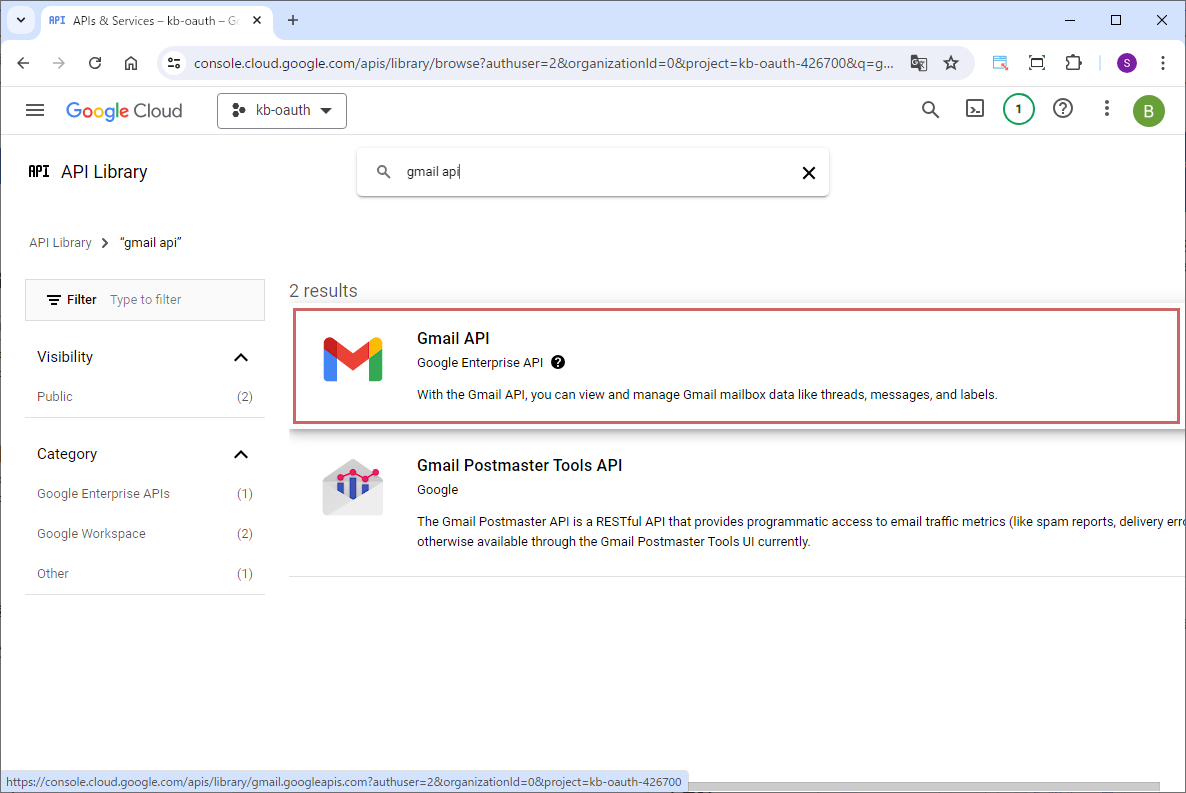
Click "Gmail API" from the list.
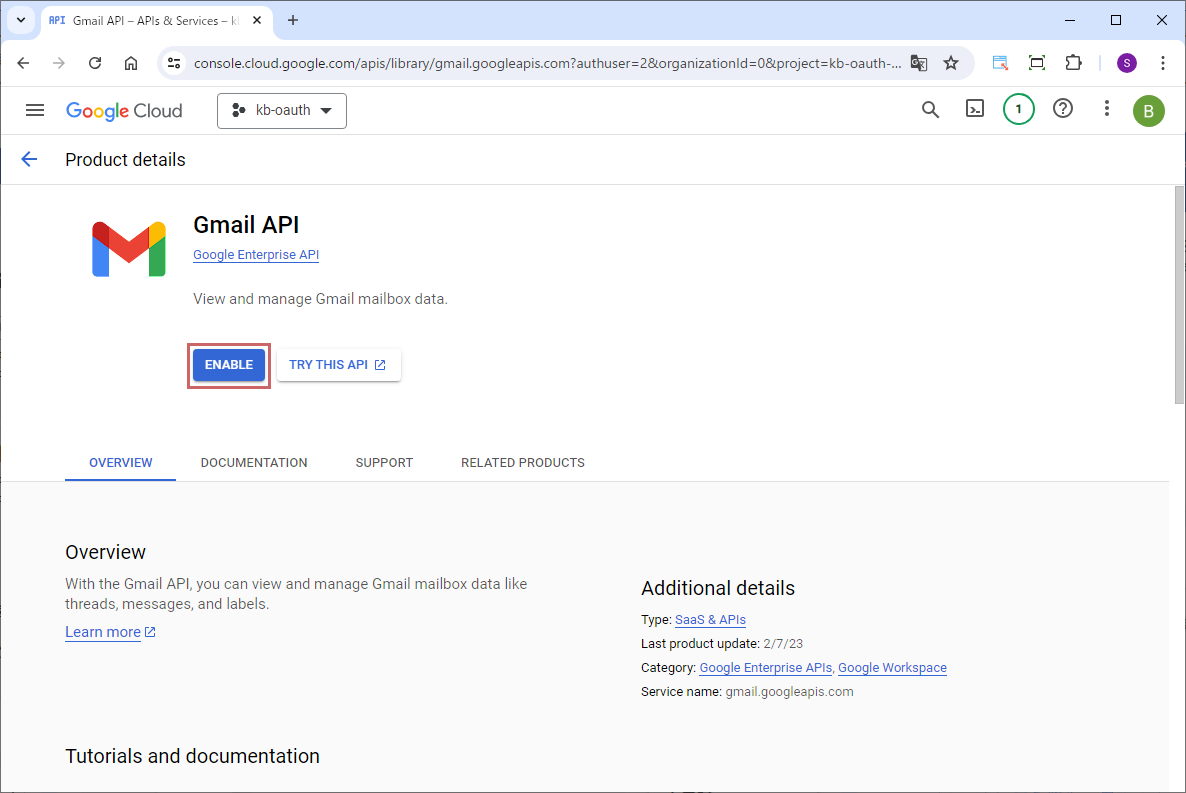
On the "Product details" screen, click the "ENABLE" button.
Creating an OAuth consent screen
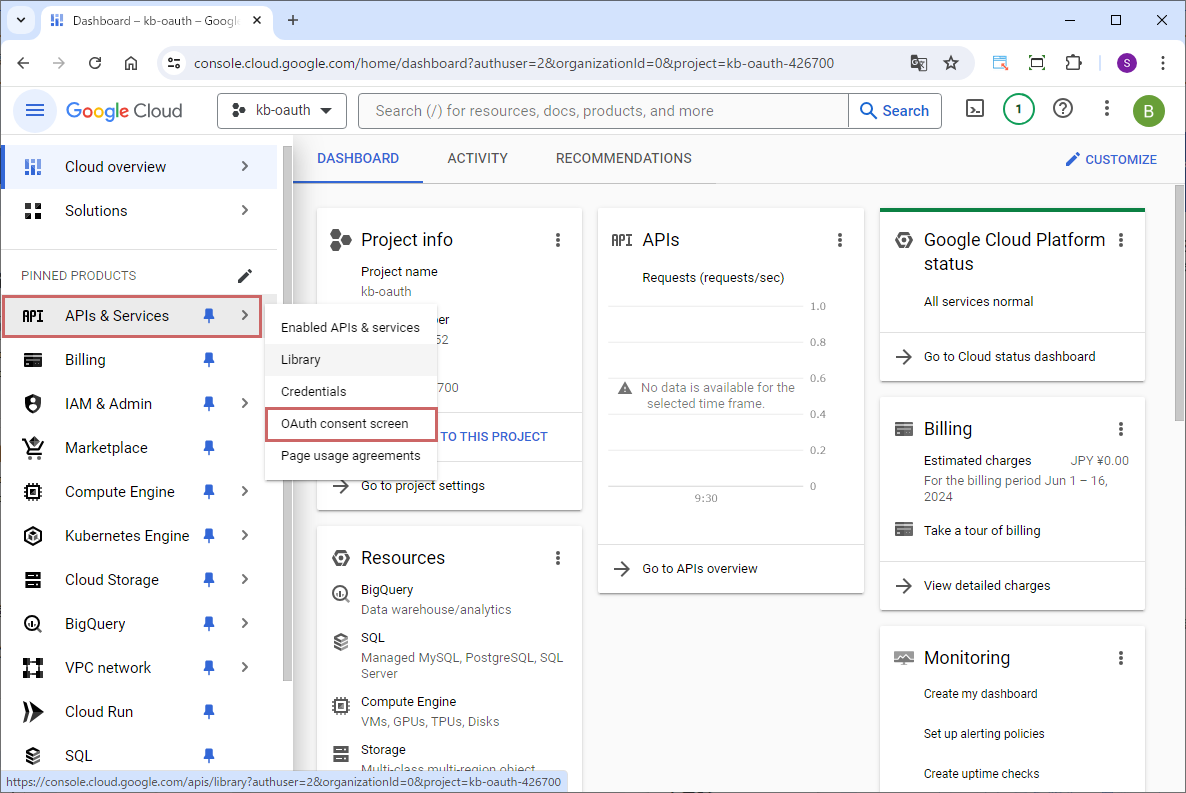
Select "API & Services" > "OAuth consent screen" from the navigation menu.
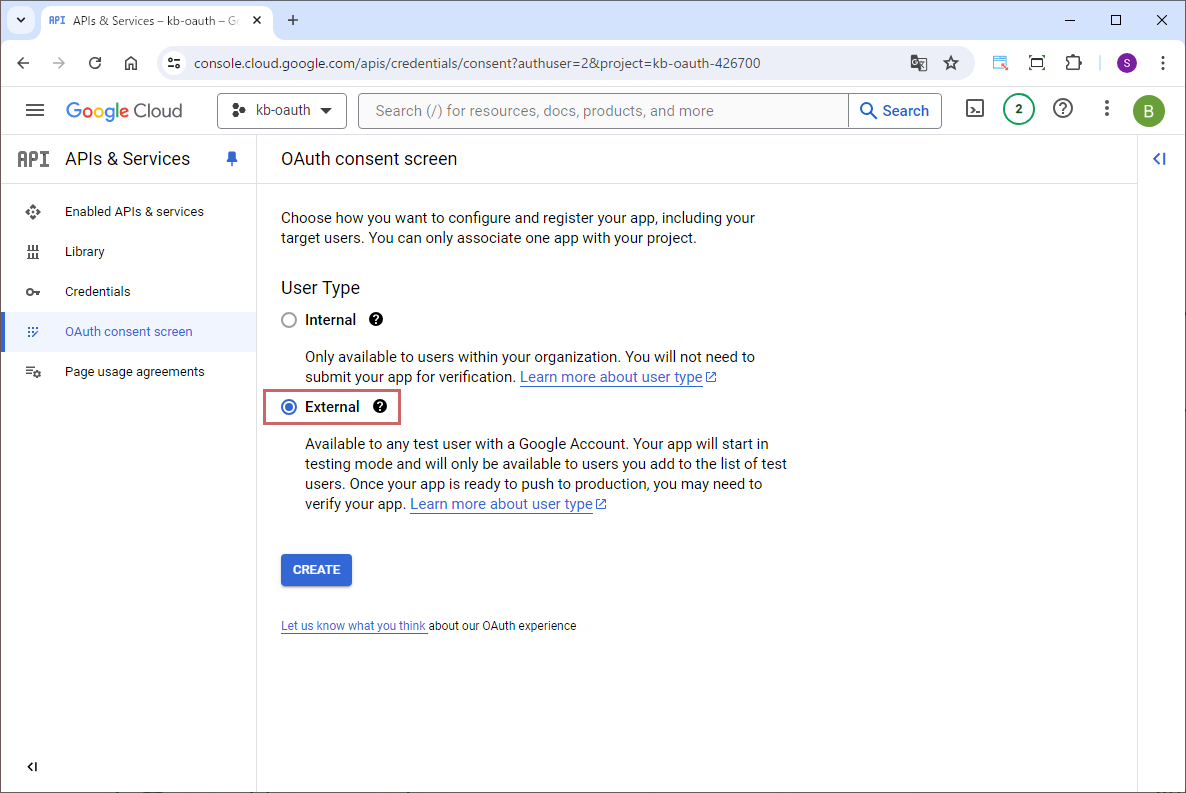
Select "External" for "User Type" and click the "CREATE" button.

For "App domain", enter the following details and for "Authorized domains" enter "kintone-booster.com".
| Application home page |
https://kintone-booster.com/en |
|---|---|
| Application privacy policy |
https://kintone-booster.com/en/license.html |
| Application terms of service |
https://kintone-booster.com/en/license.html |
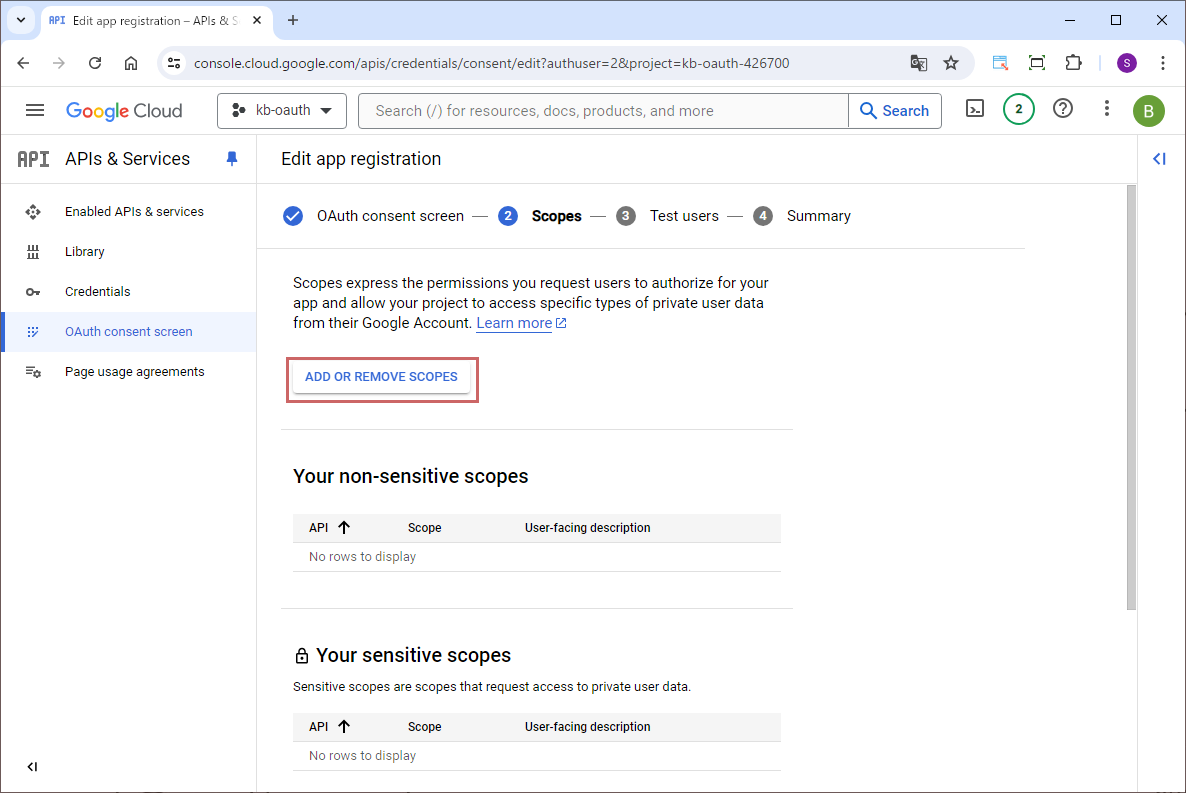
Click the "ADD OR REMOVE SCOPES" button to add scopes.
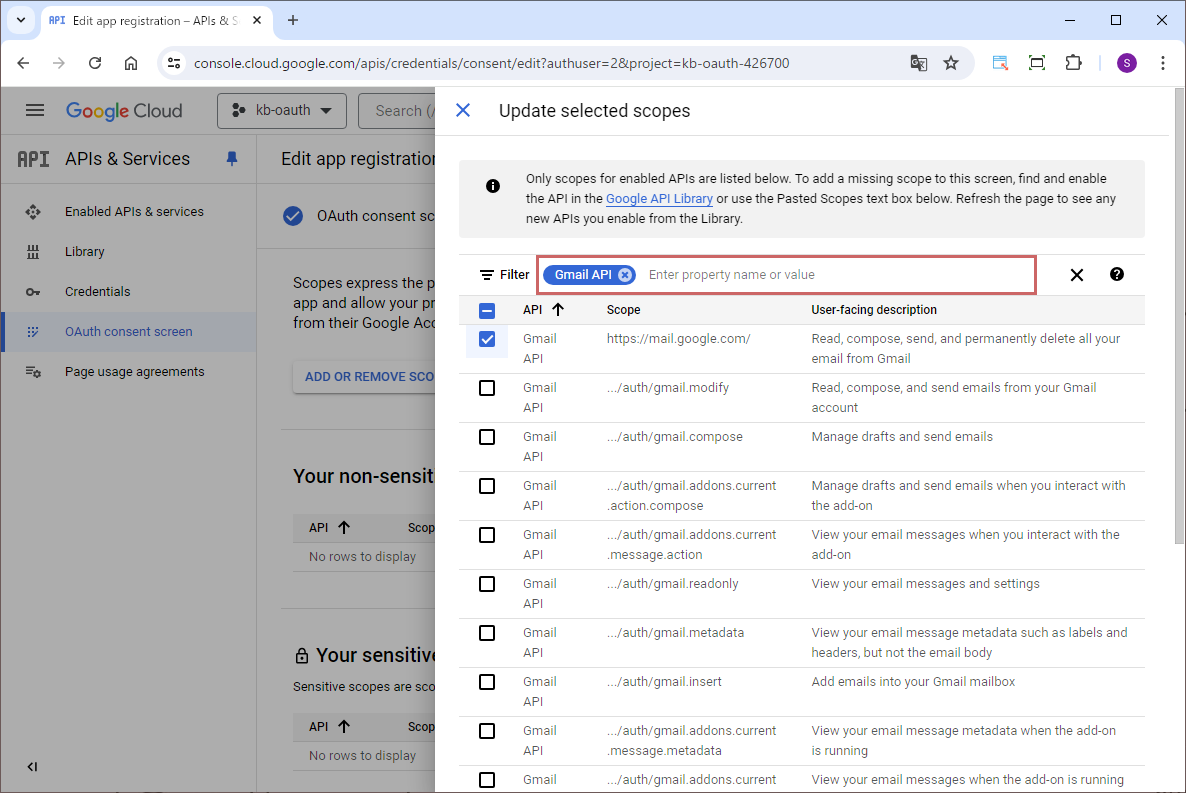
On the "Update selected scopes" screen, enter "GMAIL" in the search field, check "Gmail API" from the filtered list.
Once the scope addition is complete, click the "SAVE AND CONTINUE" button, and click the "SAVE AND CONTINUE" button on the following pages as well.
Creating credentials
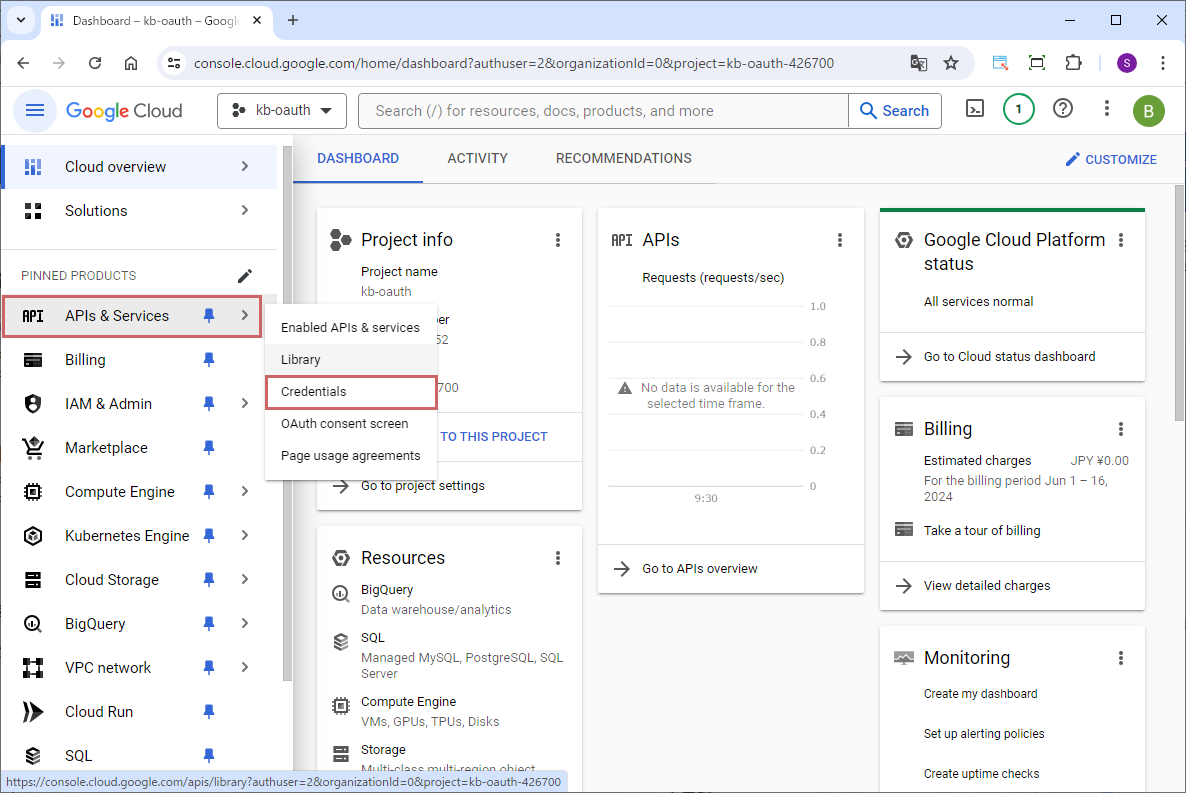
Select "API & Services" > "Credentials" from the navigation menu.
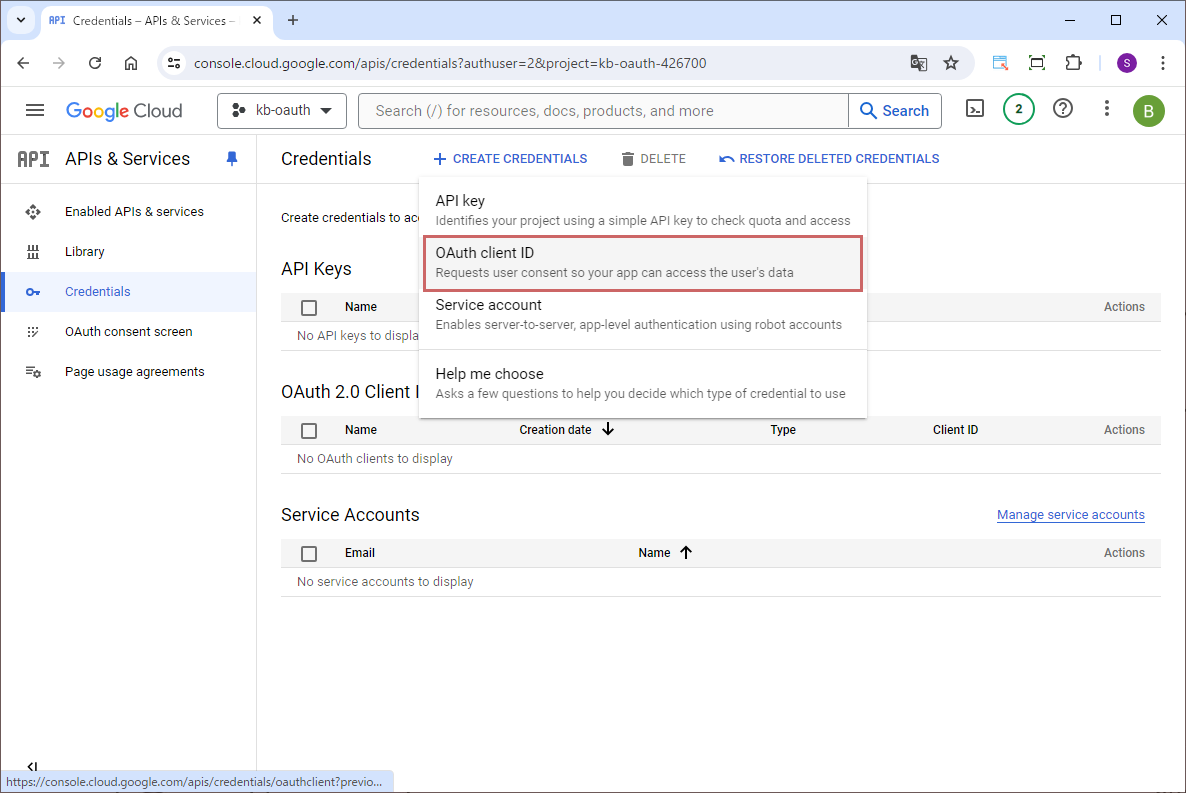
Click the "CREATE CREDENTIALS" button and select "OAuth client ID".
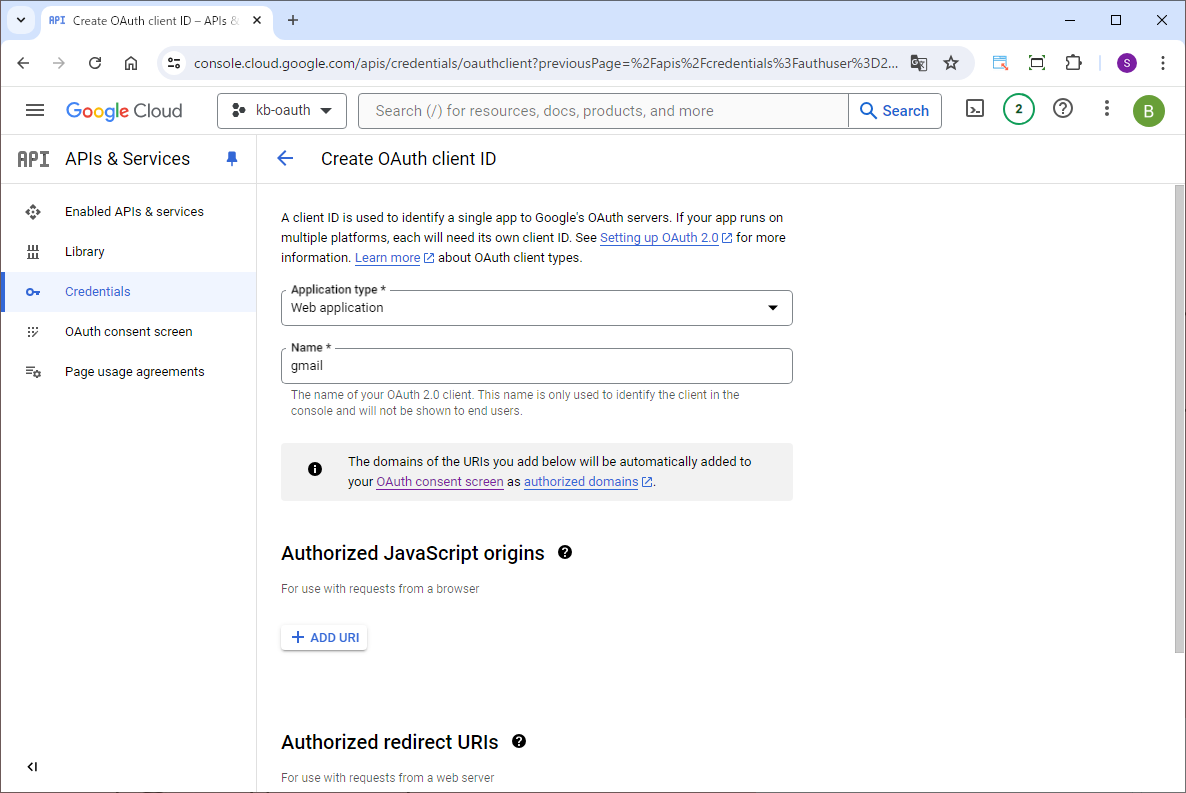
On the "Create OAuth client ID" screen, select "Web application" for "Application type" and enter a name of your choice for "Name".
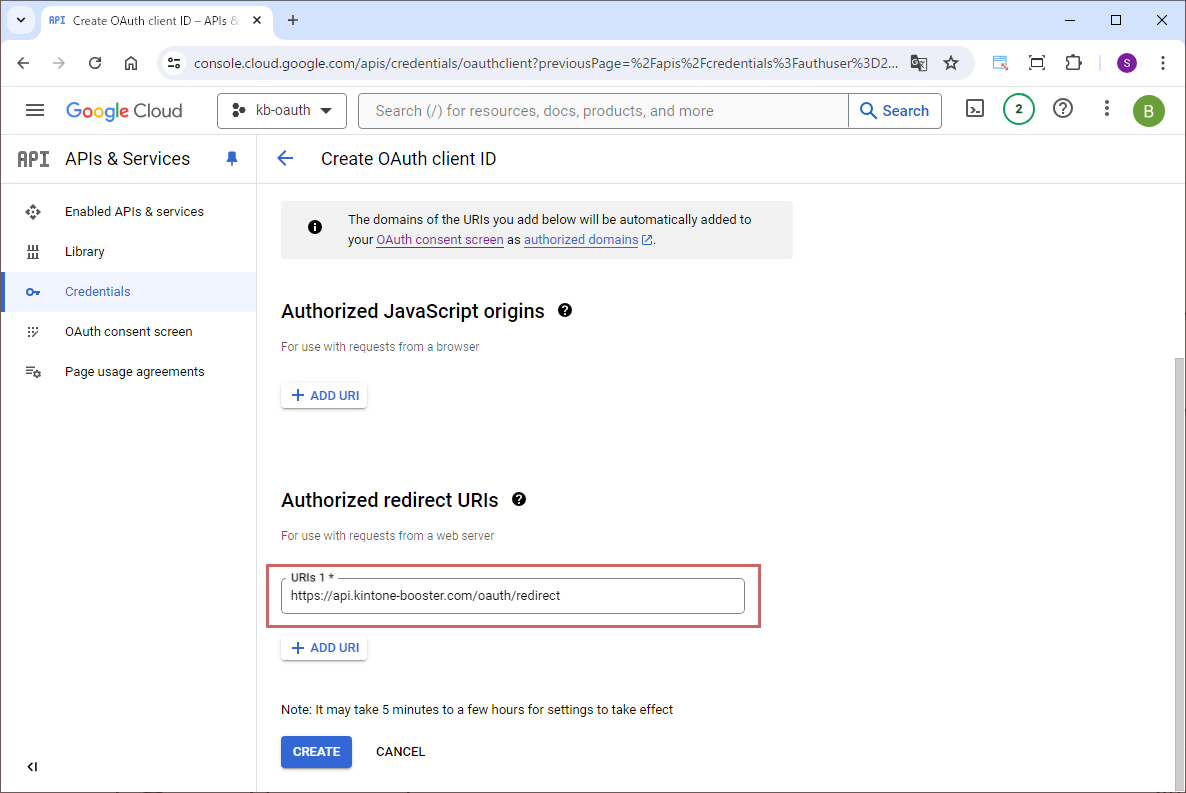
For "Authorized redirect URIs", enter "https://api.kintone-booster.com/oauth/redirect" and click the "CREATE" button.
Getting client ID and client secret
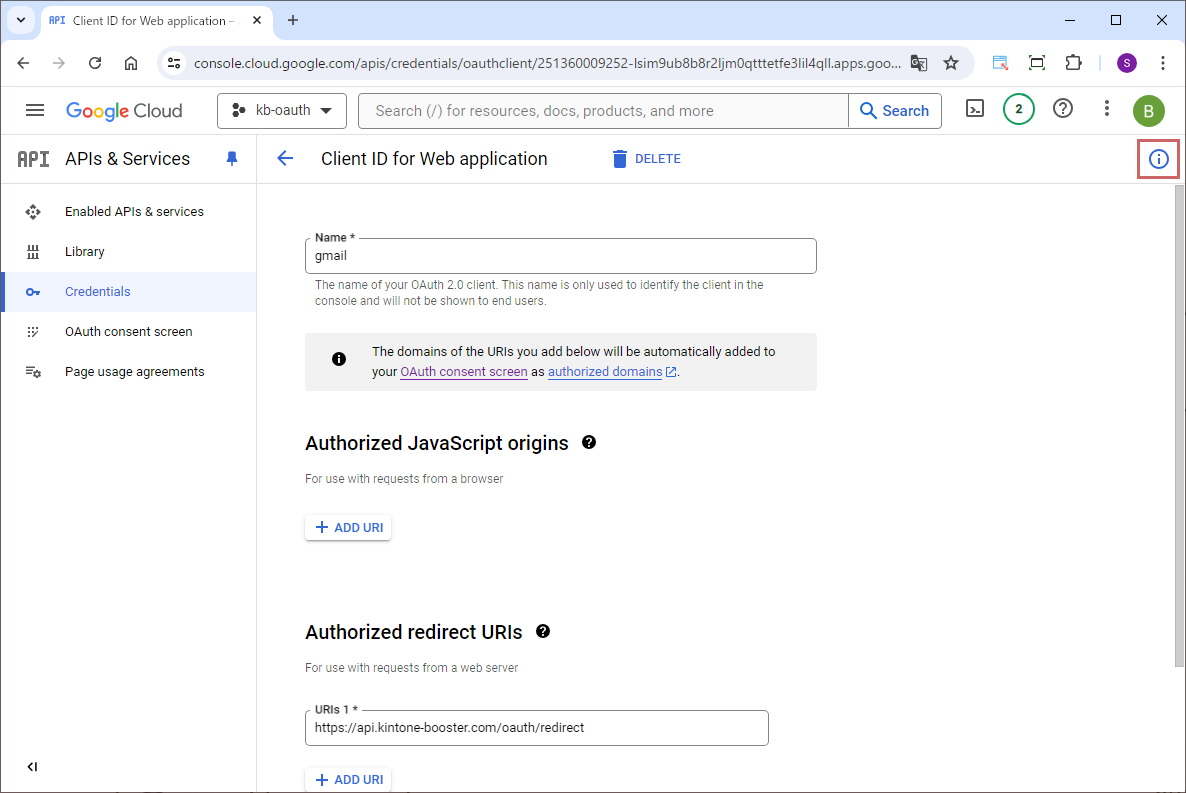
After completing the creation of authentication information, the client ID and client secret will be displayed on the popup screen. However, you can also check the client ID and client secret from the details screen of the created authentication information.
Click the "!" button at the top right of the detailed credentials screen.
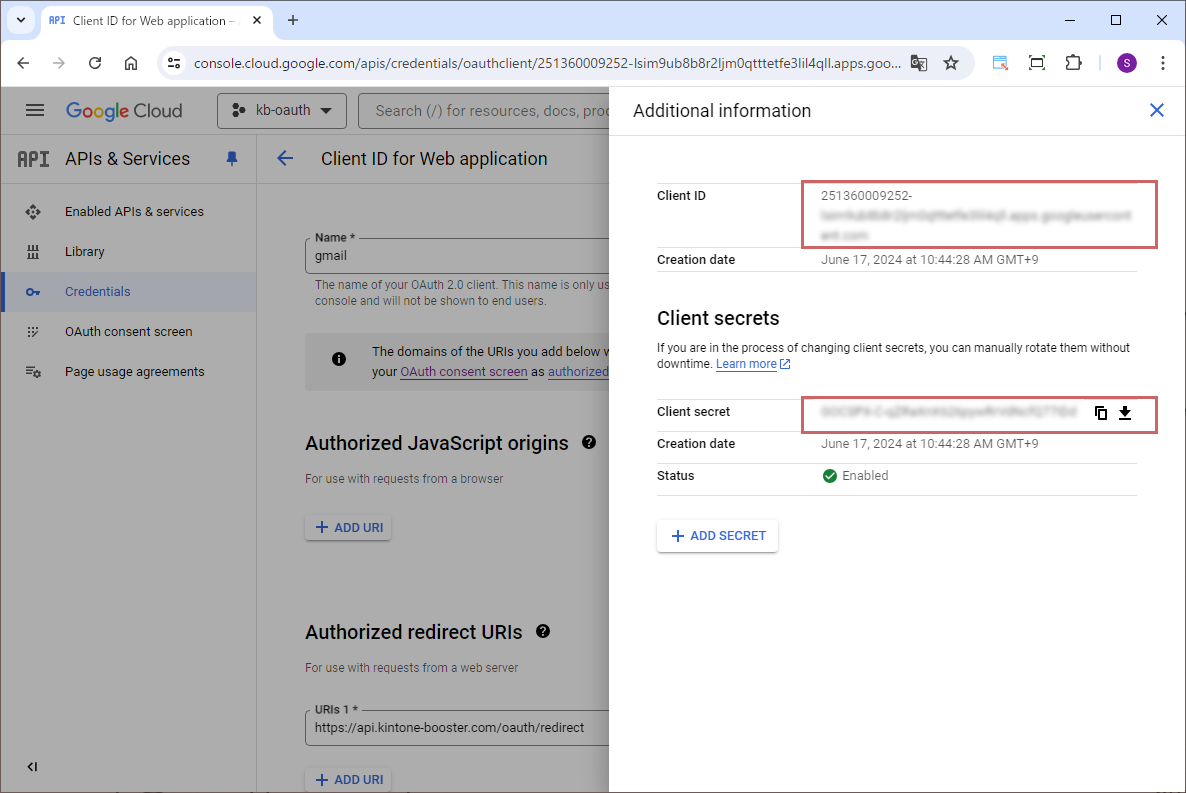
The client ID and client secret will be displayed, copy them.
Publishing the application
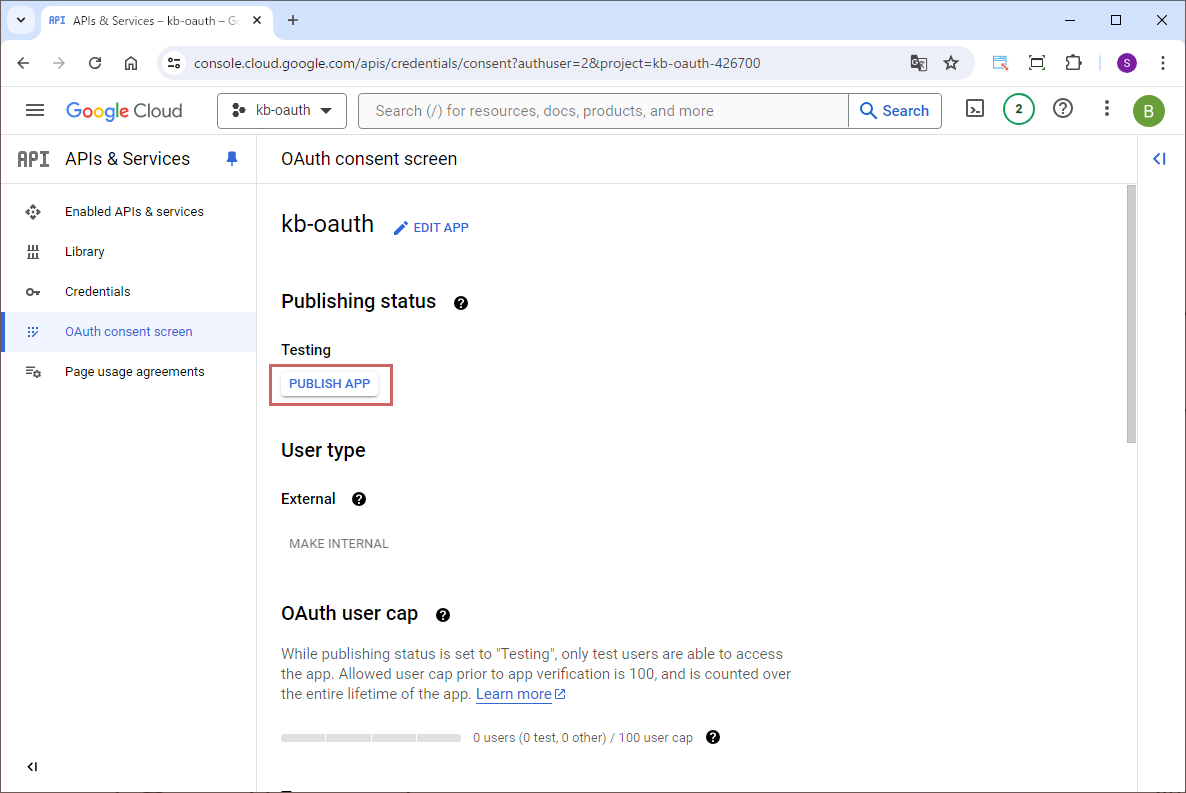
Finally, set up the application for publishing.
Select "API & Services" > "OAuth consent screen" from the navigation menu and click the "PUBLISH APP" button under "Publishing status".
Fee
While all plugins in the Boost! series can be downloaded and used for free, after a 3-month trial period, a message prompting you to purchase a license will be displayed once a day for each installed app. To use it without displaying this message, you will need to pay an annual fee of 10,000 JPY.
Boost! is based on a domain license, so there is no upper limit to the number of users.
The license and fee apply to the entire Boost! series, not on a per-product basis.
Please note that for Boost! Injector and Boost! Echo, if you have not purchased a license after the 3-month trial period, you will no longer be able to use them.
For your interest
This site introduces a series of plugins that extend the functionality of kintone. If you have tried using kintone but feel it does not fit well with your company's operations, we also offer a free open-source web application builder. This tool allows you to easily create a system tailored to your business processes, even without any knowledge of system development. If you are interested, please visit the following URL.
https://pandafirm.jp/en/kumaneko.html